Plans - Kumiko Table Saw Sled: V-Classic
Plans - Kumiko Table Saw Sled: V-Classic
Please read!*
* This sled is an early model from 2019. If you're thinking about getting a sled, consider the newer version available. Check out our JTWoodworks Kumiko Sled. The V2.1 sled is a ready-made kit and we won't have plans for making it from scratch. The version of the seld in these plans is different and functions differently.
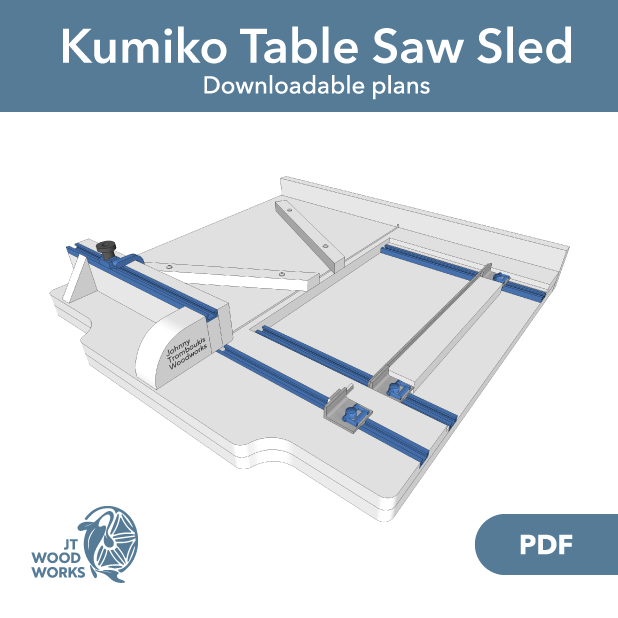
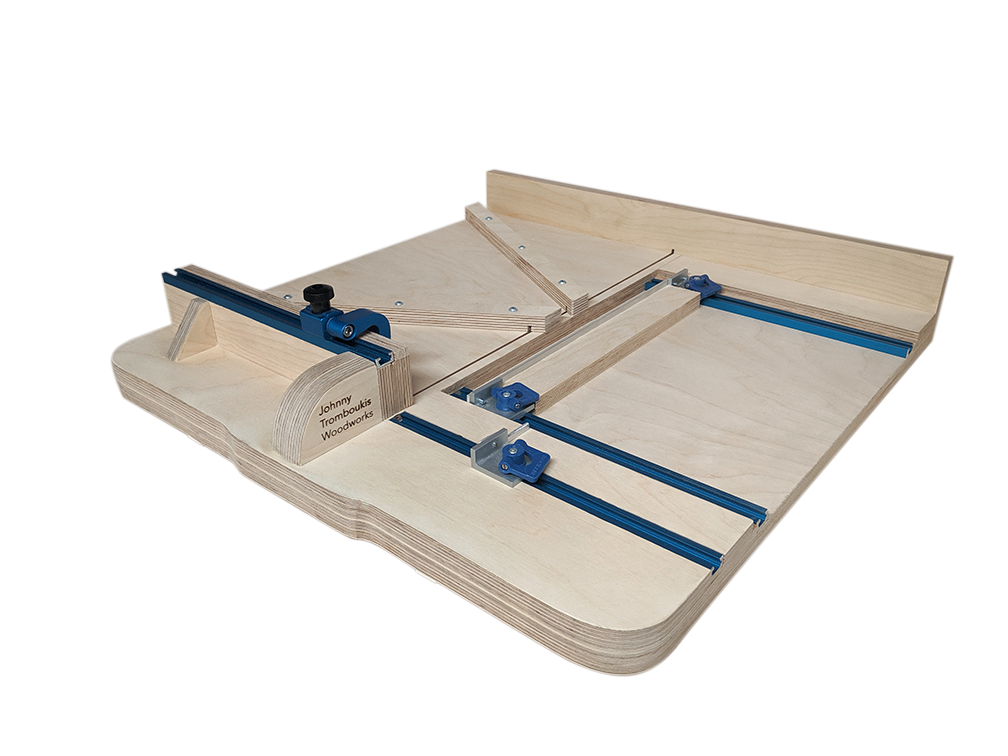
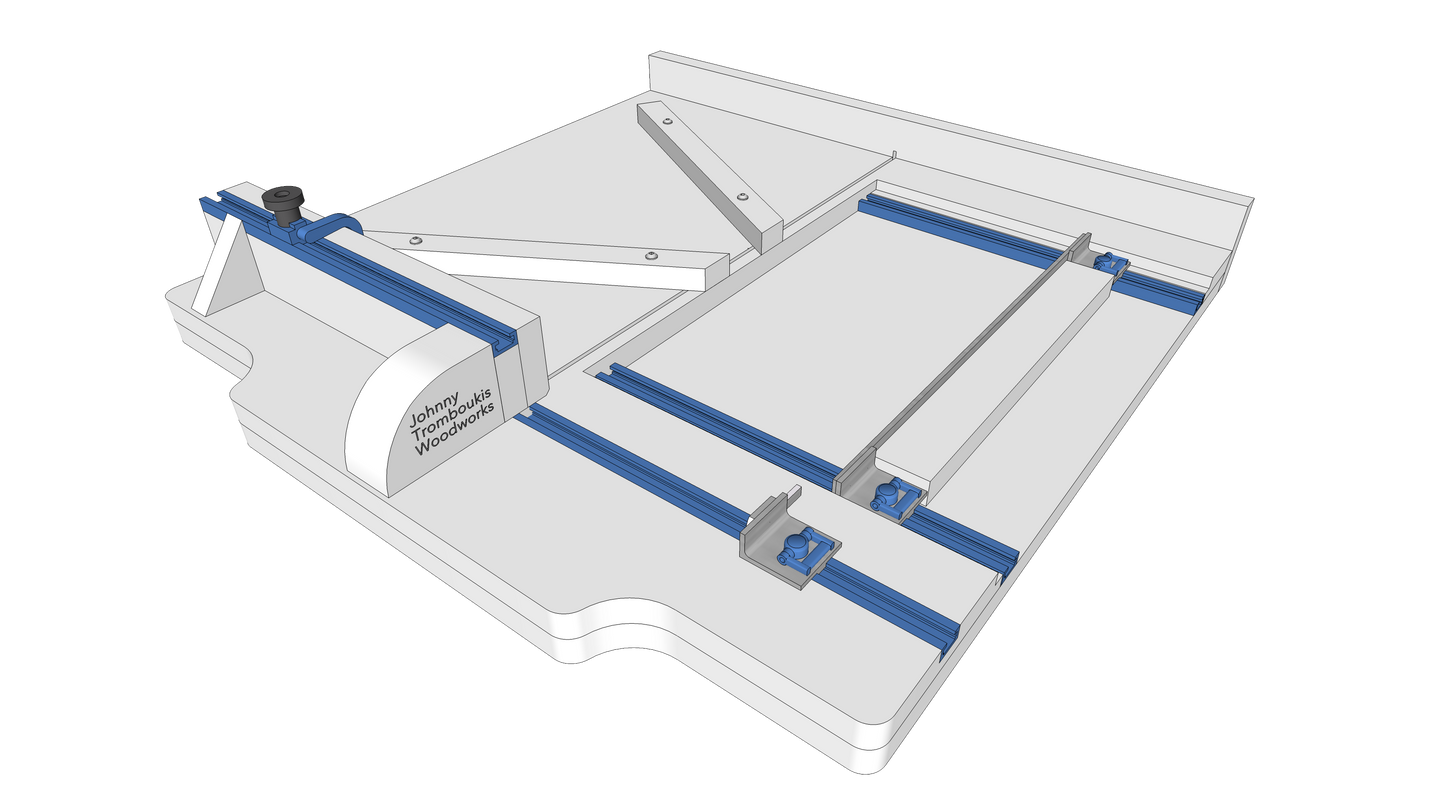
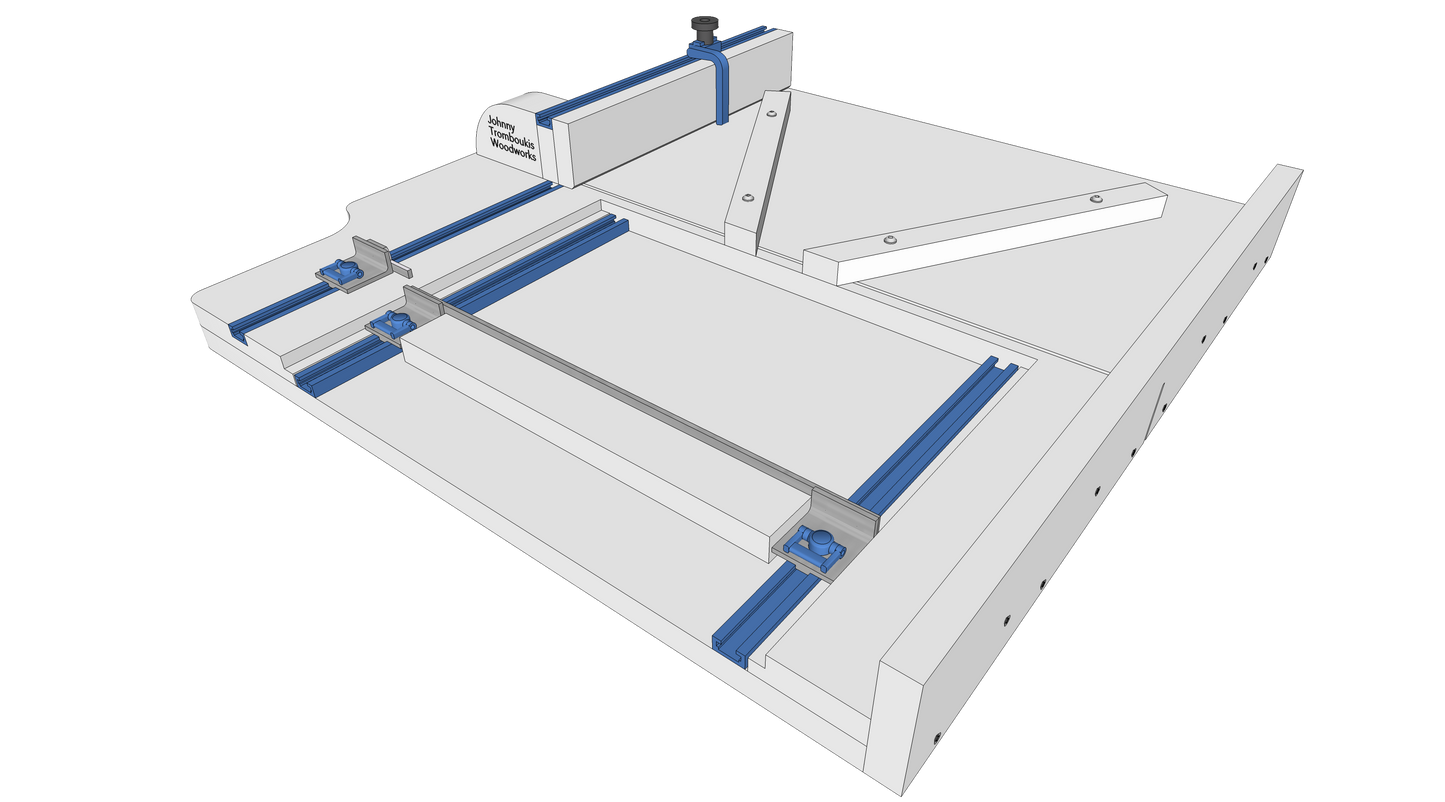
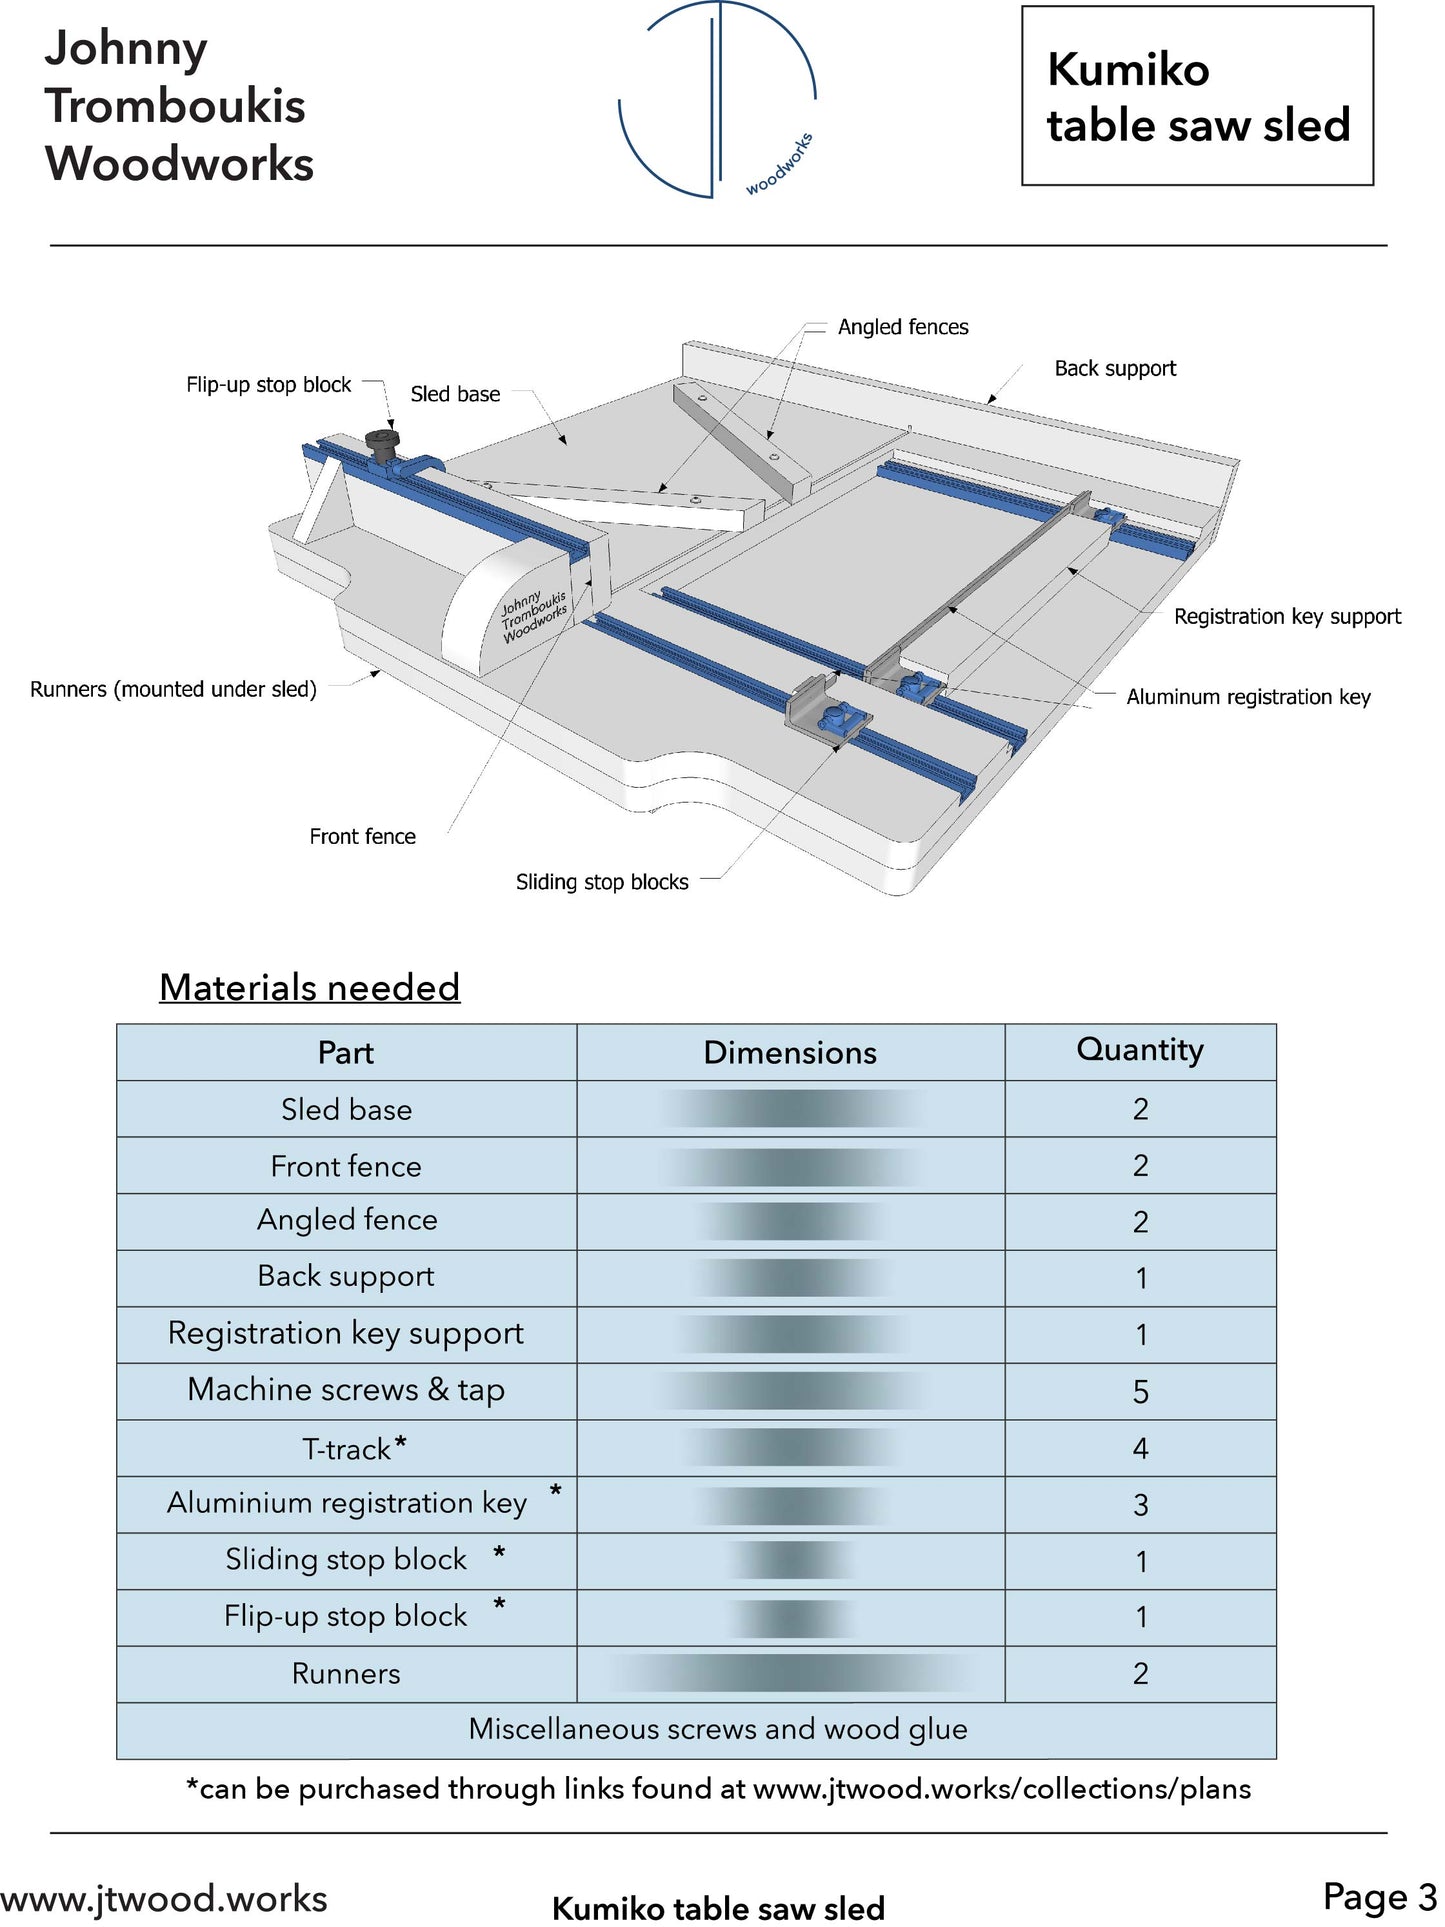
The most important part of making kumiko panels is the grid, as a perfect grid will set you up for success during the infill steps. The aim of this table saw sled is to accurately cut the half laps on kumiko strips for both 90º (rectangular) and 60º (hexagonal and diamond) grids. There are movable registration keys which allow you to create a grid with any spacing.
Includes a SketchUp model as well as a 13 page PDF easy to follow guide with step-by-step instructions and helpful tips that aid with assembly. These plans are incredibly detailed with text and graphics explaining each step and breaking down all the parts to approachable, bite size pieces.
This sled is designed to be used with an 1/8” blade and 1/2” - 5/8" wide kumiko strips. You may use a thinner or thicker blade but note that your strips will need to match that thickness and you’ll need to change the sliding registration keys to match as well.
Watch how I made the sled
Items you'll need:
About half a sheet of 3/4" plywood
T-track - 4ft
Aluminum registration key - 1/8" x 1" x 24"
Sliding stop blocks - 3 qty.
Flip-up stop block - 1 qty.
M4 x .7 x 6mm screws - 5 qty.
M4 x .7 tap - 1 qty.
*Note: some links above are affiliate links
Looking for a kumiko project? Try these lantern plans
Couldn't load pickup availability
Share
